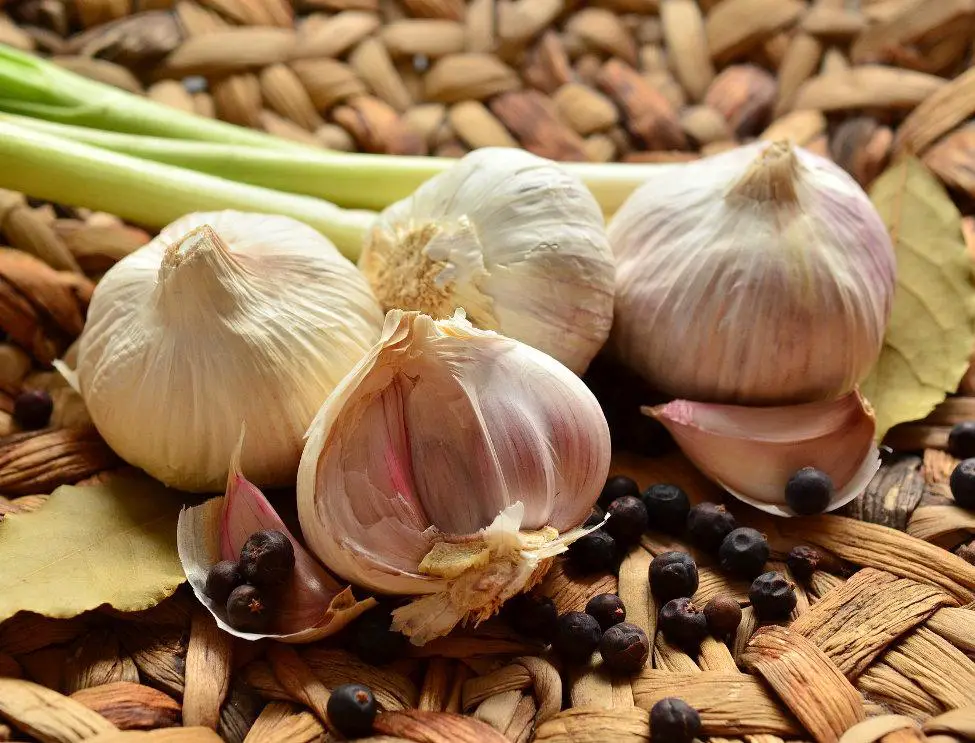
Garlic, with its intense aroma and robust flavour, is a kitchen essential. But what if you don’t have a spacious garden? Don’t worry! You can still enjoy the satisfaction of growing your own garlic by planting it in containers. In this article, we’ll walk you through the process, from meeting its basic needs to harvesting and storing your homegrown garlic.
Basic Needs
To start your garlic-growing adventure, ensure you meet its basic requirements:
- Container Selection: Opt for a well-draining container with a depth of at least 20 cm. This allows room for garlic bulbs to develop without overcrowding.
- Soil: Choose a high-quality potting mix enriched with organic matter. Garlic thrives in well-draining soil that’s slightly acidic to neutral.
- Sunlight: Garlic loves the sun. Place your containers in an area that receives at least six hours of direct sunlight daily.
- Variety Selection: Select the right garlic variety for container gardening. Softneck varieties, such as ‘Inchelium Red’ or ‘California Early,’ are often well-suited for this purpose.
Growing Techniques: Planting the Garlic Seed
Now that you’ve set the stage, it’s time to get your hands dirty:
- Planting Time: In cooler regions, plant garlic in late autumn, allowing it to develop roots before winter. In milder climates, early spring planting is ideal.
- Cloves Placement: Break apart the garlic bulb into individual cloves, ensuring each clove is firm and free from damage. Plant the cloves with the pointed end facing up, about 5cm deep and 10-15cm apart.
- Watering: Keep the soil consistently moist but not waterlogged. Garlic appreciates regular watering, especially during dry spells.
- Fertilizing: Feed your garlic with a balanced, all-purpose fertilizer every 3-4 weeks during the growing season. Cease fertilization about a month before the expected harvest.
Problem Solving
Even the most attentive gardeners encounter challenges. Here’s how to troubleshoot common garlic-growing issues:
- Yellowing Leaves: If your garlic leaves turn yellow, it might be a sign of overwatering. Ensure the soil has proper drainage and adjust your watering routine.
- Pests: Keep an eye out for pests like aphids and mites. A gentle spray of soapy water can help deter them. Alternatively, companion planting with herbs like chives and mint can act as a natural repellent.
- Diseases: Garlic is susceptible to fungal diseases, especially in humid conditions. Planting in well-draining soil, proper spacing, and adequate airflow can reduce the risk. Remove any diseased leaves promptly.
Harvesting and Storage
As your garlic plants mature, it’s time to harvest and savour the fruits of your labour:
- Harvest Time: Harvest when the lower leaves turn yellow and begin to dry, typically in late spring or early summer. Gently loosen the soil and lift the bulbs using a garden fork.
- Curing: Allow your harvested garlic to cure by drying it in a well-ventilated, shaded area for 2-4 weeks. This helps enhance flavour and extends storage life.
- Storage: Once cured, trim the roots and cut back the tops. Store your garlic bulbs in a cool, dry place. Braiding the tops is aesthetically pleasing and a space-saving storage option.
Tips: Nurturing Your Garlic Garden
Maximize your garlic-growing success with these tips:
- Companion Planting: Plant garlic alongside herbs like rosemary and thyme to naturally deter pests.
- Mulching: Apply a layer of organic mulch, such as straw or shredded leaves, around your garlic to conserve moisture, suppress weeds, and regulate soil temperature.
- Container Size: If space permits, consider larger containers to accommodate multiple garlic bulbs and provide more room for growth.
Growing garlic in containers brings the joy of homegrown flavour to even the smallest of spaces. With the right care and attention to its basic needs, you can enjoy a bountiful harvest of aromatic, homegrown garlic. From planting to harvesting and storing, container gardening opens the door to a world of possibilities. So, roll up your sleeves, grab a pot, and let the garlic-growing adventure begin!
