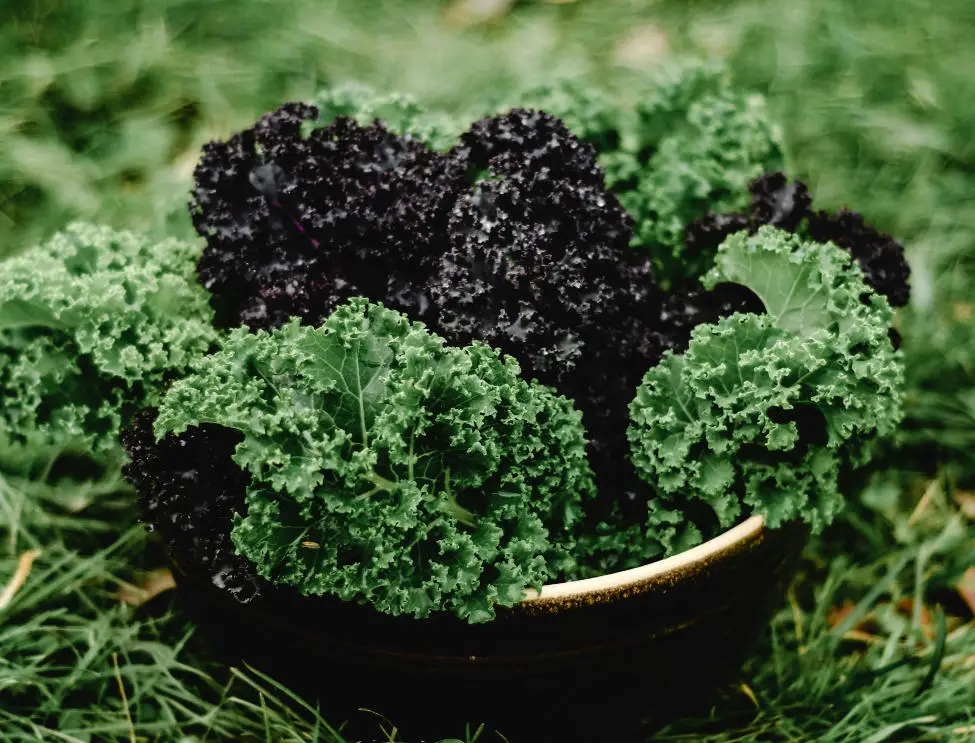
Kale, with its nutrient-packed leaves and versatility in the kitchen, is an excellent choice for container gardening. Whether you’re working with a small balcony or a limited backyard space, this guide will walk you through the rewarding journey of growing kale in containers. We’ll delve into the basic needs of kale, explore effective growing techniques, troubleshoot common problems, discuss harvesting and storage tips, offer additional insights with handy tips, and conclude with the satisfaction of cultivating your leafy greens.
Basic Needs: Setting the Stage for Kale Success
Container Selection and Size
Kickstart your kale-growing adventure by choosing the right container. Opt for a pot that is at least 30 cm deep with sufficient drainage holes. Kale has a robust root system, so ensure the container is spacious enough to accommodate its growth. If you’re planting multiple kale plants, space them about 45-60 cm apart.
Soil and Fertilization
Create a nutrient-rich environment for your kale by using well-draining soil enriched with organic matter. A potting mix designed for vegetables works well. Fertilize your kale with a balanced, all-purpose fertilizer at planting and then every 4-6 weeks during the growing season to ensure a continuous supply of nutrients.
Sunlight Exposure
Kale thrives in full sunlight but can tolerate partial shade. Place your container in a location that receives at least 6-8 hours of direct sunlight daily. If you’re growing kale indoors, position the container near a south-facing window to maximize sunlight exposure.
Growing Techniques: Nurturing Kale from Seed to Leafy Glory
Planting Kale Seeds or Seedlings
Decide whether you want to start kale from seeds or purchase seedlings from a nursery. Sow seeds directly into the container or transplant seedlings, ensuring they are planted at the same depth as they were in their nursery pots. Space the plants according to the recommended distance on the seed packet.
Watering Strategies
Maintain consistent soil moisture for your kale plants. Water the plants at the base to prevent wetting the leaves, reducing the risk of fungal diseases. Check the soil regularly and water when the top 3 cm feels dry. Kale appreciates adequate moisture but doesn’t tolerate waterlogged conditions.
Companion Planting for Pest Control
Consider planting kale alongside companion plants like nasturtiums or marigolds to deter pests. These companion plants can help keep away unwanted insects and create a healthier growing environment for your kale.
Problem Solving: Overcoming Common Kale Growing Challenges
Dealing with Pests
While kale is relatively pest-resistant, occasional invaders like aphids or cabbage worms may appear. Use insecticidal soap or neem oil for organic pest control. Regularly inspect the undersides of leaves where pests often hide.
Addressing Leaf Discoloration
Yellowing or discoloured kale leaves may indicate nutrient deficiencies or soil pH issues. Fertilize with a balanced fertilizer and ensure the soil pH is within the optimal range of 6.0-7.5. Mulching around the plants can also help retain soil moisture and regulate temperature.
Preventing Bolting
Bolting, or premature flowering, can occur in response to heat stress or age. To prevent bolting, plant kale in cooler seasons or provide shade during hot periods. Harvest the outer leaves regularly to encourage continuous leafy growth.
Harvesting and Storage: Enjoying a Bounty of Fresh Kale
Harvesting Techniques
Harvest kale when the leaves are young and tender, typically around 20-25 cm in length. Use clean scissors or shears to cut the outer leaves, leaving the inner leaves to continue growing. Harvesting from the outer leaves promotes continuous growth and ensures a fresh supply.
Storing Fresh Kale
Store freshly harvested kale in the refrigerator. To extend shelf life, wrap the leaves in a damp paper towel and place them in a plastic bag. Alternatively, store the leaves in a container with a lid.
Tips: Enhancing Your Kale-Growing Experience
Succession Planting for Continuous Harvest
Maximize your kale harvest by practising succession planting. Sow new seeds or transplant seedlings every few weeks to ensure a continuous supply of fresh leaves. Succession planting also helps manage space effectively.
Mulching for Weed Control
Apply a layer of organic mulch around the base of your kale plants to suppress weeds, retain soil moisture, and regulate soil temperature. Mulching also helps prevent soil splash on the leaves, reducing the risk of fungal diseases.
Cold Weather and Kale Sweetening
Exposure to cold temperatures can enhance the sweetness of kale. Consider harvesting kale after a light frost for a sweeter flavour. Kale is known for its ability to withstand chilly conditions.
A Container Kale Oasis
Growing kale in containers is not just about cultivating a leafy green; it’s about creating a mini-oasis of nutritious abundance. By understanding the basic needs, employing smart growing techniques, overcoming challenges effectively, and incorporating tips for success, you’re on your way to enjoying a continuous supply of homegrown kale. Embrace the joy of nurturing your container garden, and relish the flavours of freshly harvested kale right at your fingertips.
